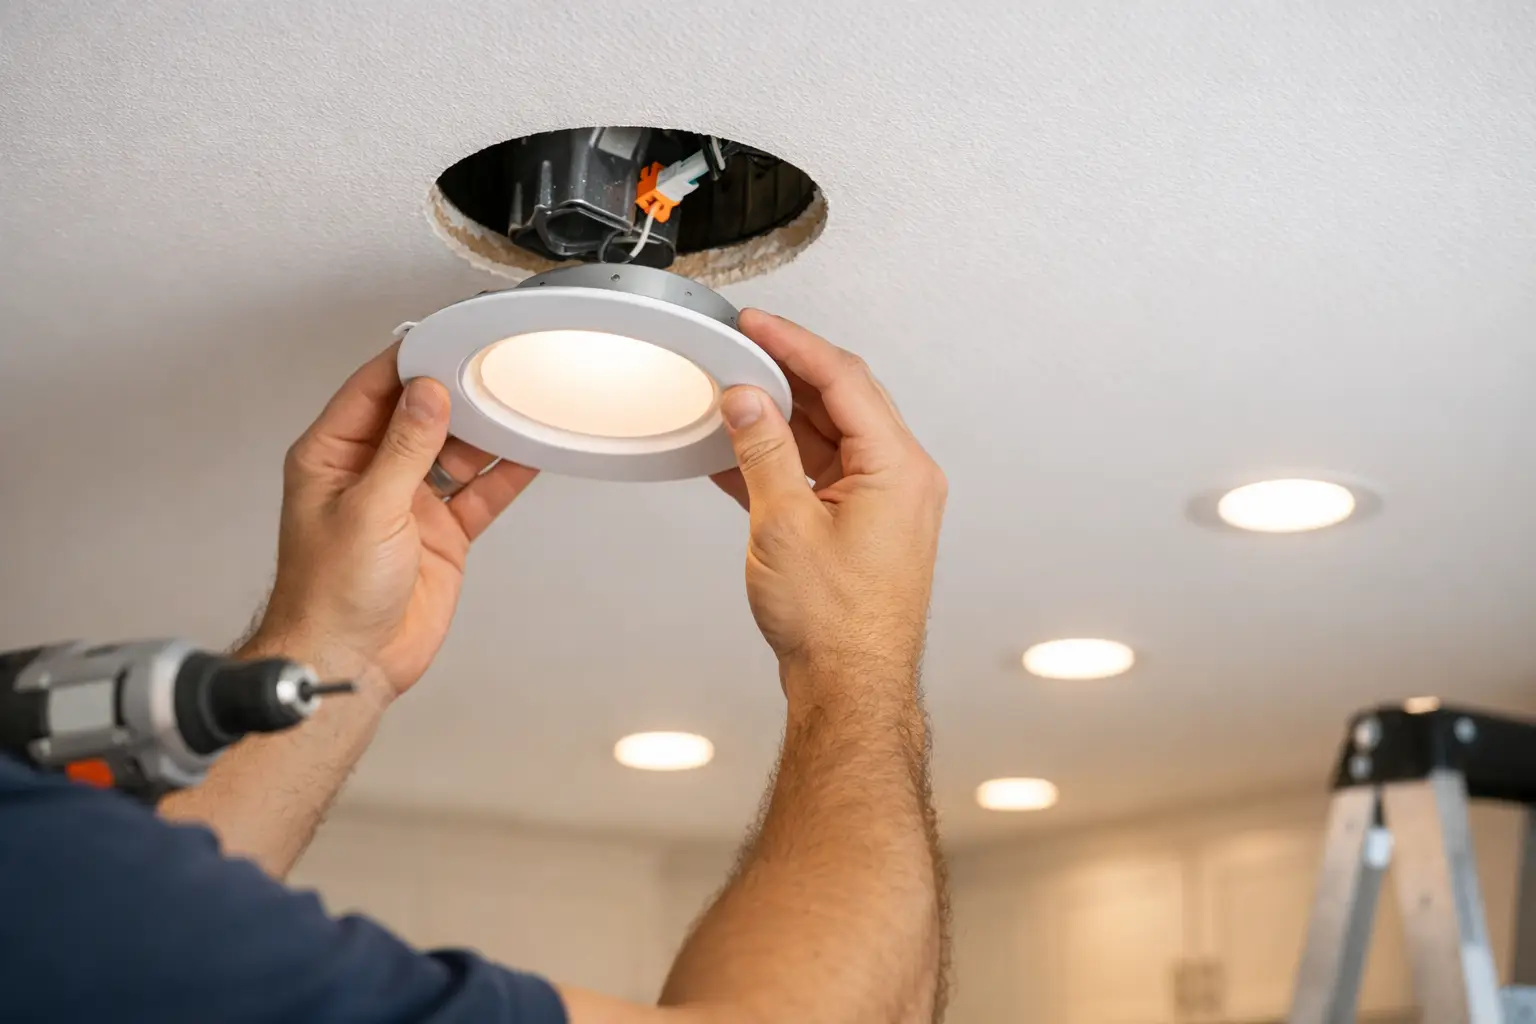

A room can look bigger, cleaner, and more finished with the right ceiling lights. But when homeowners ask how to install recessed lighting, what they usually mean is this: how do you get that clean, modern look without cutting the wrong hole, overloading a circuit, or creating a future drywall headache?
That is the right question to ask. Recessed lighting is one of the best upgrades for kitchens, living rooms, hallways, offices, and retail spaces, but it is not a purely cosmetic project. You are modifying the ceiling, the wiring, and often the way light is distributed across the room. Done well, it adds value and function. Done poorly, it leaves dark spots, trim that does not sit flush, or electrical issues hidden above the ceiling.
How to install recessed lighting: start with the plan
Before any hole is cut, the layout matters more than most people expect. Good recessed lighting should feel natural. You should notice the room looks better, not the fixtures themselves.
Start by deciding what the lights need to do. In a kitchen, recessed lights often provide task lighting over work areas. In a living room, they may serve as general illumination with a softer feel. In a hallway, the goal is usually even coverage without harsh pools of light. That purpose affects fixture spacing, beam spread, and brightness.
Ceiling structure matters too. Joist placement can limit exactly where a light can go, especially if you are using standard housings instead of ultra-thin wafer-style fixtures. HVAC ducts, plumbing, and existing wiring above the ceiling can also force adjustments. This is one reason experienced electricians do not treat recessed lighting as a simple cut-and-drop job.
For spacing, a common rule of thumb is to place lights about half the ceiling height apart. That is a starting point, not a law. A room with darker finishes, tall ceilings, or strong task-lighting needs may require a tighter layout. A room with layered lighting, such as pendants or sconces, may need fewer recessed fixtures.
Choose the right recessed lighting type
Not all recessed lighting installs the same way. The best option depends on whether you are working in new construction, remodeling an existing room, or upgrading older can lights.
New construction housings are designed to be mounted before drywall is installed. Remodel housings are made for finished ceilings and secure from below. Wafer lights have become popular because they are thin, efficient, and useful where joists or ductwork leave very little clearance.
You also need to choose between IC-rated and non-IC-rated fixtures. IC-rated fixtures are approved for contact with insulation. In many homes, especially attic spaces, that matters. Using the wrong housing in an insulated ceiling can create a heat problem and code violation.
Air-tight fixtures are another smart choice. In hot climates like Las Vegas, reducing unwanted air movement between living space and attic can help with energy efficiency. It may seem like a small detail, but several poorly sealed fixtures can add up over time.
Color temperature and trim style come later, but they still affect the final result. A bright 5000K light in a living room can feel cold and clinical. A warm 2700K in a work-focused kitchen may feel too dim or yellow. Most homeowners are happiest when the lighting plan is practical first and decorative second.
The basic process for installing recessed lighting
If you are looking at how to install recessed lighting in an existing ceiling, the job usually follows a clear sequence. First, power is shut off at the panel and verified. Then the layout is marked carefully, making sure each opening avoids framing and hidden obstructions.
Next, the ceiling openings are cut using the template provided by the fixture manufacturer. Precision matters here. A hole that is too large can leave a visible gap around the trim. A hole in the wrong place can turn a lighting project into a drywall repair project.
After the openings are prepared, wiring is run from the power source to the switch and then to each fixture location, depending on the circuit design. The exact method depends on access. An attic above makes the job easier. A finished second story with no attic access makes it more complex and sometimes more labor-intensive.
Each fixture is then wired inside its junction box according to manufacturer instructions and code requirements. Connections must be secure, properly enclosed, and sized correctly for the conductors. Once wiring is complete, the fixture housing or wafer assembly is secured, the trim or light module is installed, and power is restored for testing.
That sounds simple on paper. In real homes and commercial spaces, it often involves working around framing, existing circuits, switch leg limitations, and code updates that older buildings were never designed for.
Wiring is where DIY projects often go sideways
The part people worry about most is usually cutting the ceiling. The part that causes the real trouble is often the wiring.
A recessed lighting installation may require a new switch, a new circuit path, or adding fixtures to an existing lighting circuit without exceeding safe load limits. If the room has older wiring, aluminum conductors, crowded boxes, or previous unpermitted work, the project gets more complicated quickly.
Another common issue is switch control. Homeowners may want one dimmer for all lights, separate zones, or integration with smart controls. That changes how the wiring should be planned from the start. Retrofitting those features after installation is possible, but it is usually less efficient than doing it correctly the first time.
Code compliance also matters. Fixture rating, conductor protection, box accessibility, support method, and spacing from insulation or combustible materials are not details to guess on. A lighting upgrade should improve the property, not create a safety issue above the ceiling line.
When recessed lighting makes sense and when it does not
Recessed lighting works best when you want clean lines and broad, even illumination. It is excellent for kitchens, family rooms, bathrooms, offices, lobbies, and commercial tenant improvements. It is also a strong option for low-profile ceilings where hanging fixtures would feel intrusive.
But it is not always the best only-light source. In bedrooms, dining rooms, and some living areas, recessed lighting alone can feel flat. Those rooms often benefit from layered lighting, where recessed fixtures handle general illumination and decorative fixtures or lamps add warmth and depth.
The same goes for accent lighting. If the goal is to highlight artwork, architectural details, or a feature wall, standard recessed spacing may not deliver the right effect. That is where directional trims or a different fixture type may be the better choice.
So if you are asking how to install recessed lighting, the more useful question might be whether recessed lighting is the right solution for that room in the first place. A good electrical contractor will answer both.
Mistakes to avoid before the first cut
The biggest mistake is treating layout as an afterthought. Lights centered by measurement alone can still look wrong if they ignore cabinets, ceiling fans, beams, or furniture placement. Visual alignment matters.
Another common problem is choosing too many fixtures. More lights do not always mean better lighting. Too many recessed cans can make a ceiling look busy and create glare. The cleaner result often comes from fewer, well-placed fixtures with the right lumen output.
Fixture compatibility is another detail that gets missed. Not every recessed light works well with every dimmer, every smart switch, or every ceiling condition. Matching components upfront prevents flicker, buzzing, or early failure.
Then there is access. Some installs are straightforward because the attic is open and the circuit is nearby. Others involve fishing wire through finished ceilings and walls with limited access. Labor, timeline, and patching needs can change significantly depending on the structure.
Should you install recessed lighting yourself?
It depends on the scope. Replacing an existing recessed trim or LED module is one thing. Installing brand-new recessed lighting where no fixture exists is another.
If the job involves new wiring, switch modifications, circuit evaluation, or cutting multiple openings in a finished ceiling, most property owners are better served by a licensed electrician. The value is not just in getting power to the lights. It is in getting the spacing right, protecting the circuit, avoiding hidden hazards, and finishing with a result that looks intentional.
For homeowners and business owners in Las Vegas, that matters even more when speed and reliability count. A professional installation reduces callbacks, patch repairs, and the risk of paying twice to correct a preventable issue. Companies like RS Electric LLC handle these upgrades with the planning and code awareness that keeps the project moving and the finished work clean.
What to expect from a professional recessed lighting install
A professional will usually start with the room itself, not the fixture catalog. They will ask how you use the space, what kind of brightness you want, whether you need dimming or smart control, and what access exists above the ceiling. From there, they can recommend fixture type, quantity, spacing, and any circuit updates needed.
That process may sound basic, but it is what separates a polished lighting upgrade from a job that only looks acceptable at first glance. Good recessed lighting should work during the day, at night, during entertaining, and during normal daily use. It should feel balanced, not harsh.
If you are planning this upgrade, take your time on the front end. The clean look people love about recessed lighting comes from careful decisions you never see after the job is done.
Need a licensed electrician in Las Vegas?
RS Electric LLC handles electrical troubleshooting and repair for homes and businesses across Las Vegas, Henderson, North Las Vegas and Summerlin. Licensed, bonded & insured (NV C-2 #0078370), certified MBE, 4.9★ on Google. Se habla español.